I started working on the other docking ring finally. It’s just about complete. I have Andre checking my work at the moment and once we think it’s good to go, I’ll post it to my grabCAD page for all.
The port-side was a bit trickier as we didn’t have as good a 3d scan of it, so I had to employ some other photo projection techniques to get the placement of the parting lines correct, but the same basic method was used as for the starboard ring. 3D mapping of the photographs to a 3D model underlay, trace out the grooves then unroll them into a flat pattern, then re-wrap them around the ring as geometry.
I’ll be posting them a few different ways: I’ll post the 3D files of the starboard and port-side rings as shown – with the armor modeled in. And then another version as a blank ring and the 2D files for laser-cutting the plates, if you want to bond the plates on traditionally.
I did re-work the starboard ring a bit once I got into the port-side. I noticed that the area where the SeaLab III struts attach varied a bit from ring to ring. they were inconsistent by a half a degree or two – so I made them consistent. The struts should land perfectly on each of the rings making a nice “X” pattern in profile view from corner-to-corner along the docking arm end-caps.


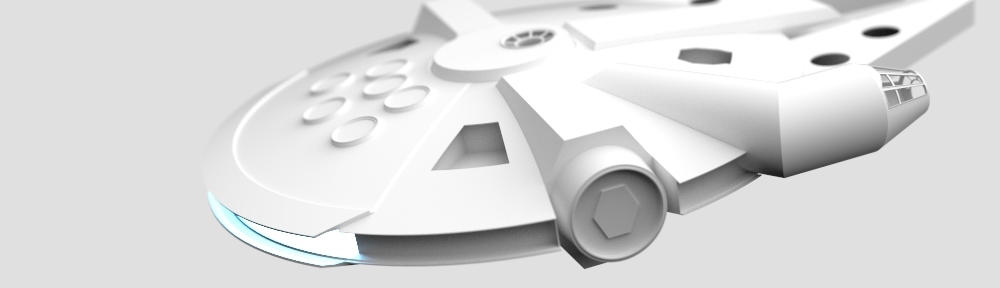
Here they are in context. So small compared to the rest of the model! These are shown on our 5′ base model…
