A minor update. Started work on Han’s side of the sidewalls and got through the lower two panels. Still a bit of a mystery of what is happing just behind Han’s left elbow – hardly ever see any views of this part. Any help would, um, be helpful…
wookie panels complete
I think I’m about done with these. There are a couple tweaks I will probably make, but wanted to get some renderings out while I’m enjoying the long week-end.
A view from the outside – standings on a mandible perhaps?
Chewie’s stepped out for a wookie break…
I’ll get the console back in at some point.
Update… This image was still cooking when I posted last night.
wookie panels
Just a quick update to show work in progress. Kudos to the SofaKing for actually pulling this off in real life – even the digital model has been a lot of work.
Anyway, I’m migrating my Illustrator layouts to 3D; fixing a few things along the way. Still a long ways to go and the colors and materials are just place holder for the moment. Although all red LED’s bring a certain unity to it all…
sidewall +1
A bit more active work schedule and one of the worst springtime colds I’ve ever had has slowed me down a bit, but here’s a minor update to the sidewall art I showed in the last post. I’m probably 99% done with Chewie’s side and and maybe 90% on Han’s. There are some mystery areas on Han’s side that are rarely seen in the movie. If anyone has some good photos feel free to drop me a line!
Chewie’s Side:
And Han’s:
sidewall
Here is a bit of a behind-the-scenes for how I’m going about reconstructing the sidewall control placements. I started with this reference image (which is my primary reference photo – it shows the cockpit before the “shrinkage”; the chopped-up version seen in A New Hope that was made to feel more, um, claustrophobic)…
I cropped each side panel from the photo, perspective corrected them individually and then strung them together to make one large unfolded panel with the right proportions.
I then created new artwork from the corrected reference photo. This will be used as an underlay for the next round of CAD work. I don’t think I will be able to find as good a reference for Han’s side, but this exercise has at least set a precedent for the grid spacing of each of the elements – which should provide solid starting points for the other side…
Sorry for such a long skinny post…
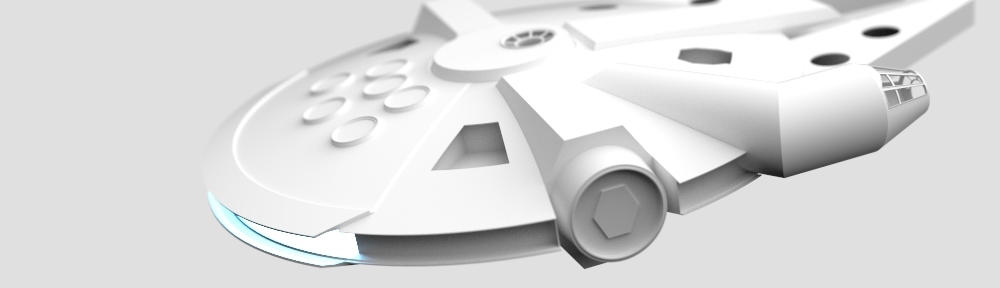
nose cone
Just a quick update on what I’ve been up to. I’ve been remodeling the cockpit cone. I think this version is a better mash-up of the 5-foot and the full scale builds. It’s mostly an exercise in proportion at this point.
I’m also starting to look at how I might make space for lighting elements. I’m playing with various light-pipe design for the light bars to be lit with a single LED each and fiber optic solutions for the myriad of tiny lights on the side walls.
seats and dash together
console complete
Whew – this was a big push!
I hope to get this all up on grabCad over the week-end. As with most anything I’ve done – it’s all still work in progress and subject to revision (I’m a bit concerned that the main dashboard is a bit too wide at the moment).
I’ll probably be working on some of the interior side panels next. With many of the buttons and switches built for this model, I hope the rest goes a bit quicker.
Enjoy!
console nearing completion
cockpit console detail
Been traveling a lot lately, but have kept chugging along. Been focusing on the main dashboard console for the cockpit. This includes building a library of common parts such as; the chicklet buttons, toggle switches, rocker switches, keycaps and so on. Hopefully this will make populating the sidewalls of the cockpit interior go a bit faster. Now for some eye candy…